CRITELLI'S SUMMER SALE | UP TO 70% OFF



Tanning Leather Couch Guide for Southern Ontario


A homeowner in Oakville or Hamilton often notices the problem at the least convenient moment, usually on a humid August afternoon when open windows bring lake air indoors. A once-rich tan leather couch looks faded across the cushions, darkened where hands rest, and dry along the arms. The immediate question is understandable: should the owner restore the sofa, replace it, or attempt a tanning leather couch project at home?
That decision deserves more care than a weekend kit and a hopeful colour match. Southern Ontario furniture lives through humid summers, dry furnace winters, and strong sunlight through south-facing windows. A quality frame may still deserve a second life, but restoration only makes sense when the leather, structure, and room can support it.
When a Worn Leather Couch Deserves a Second Life
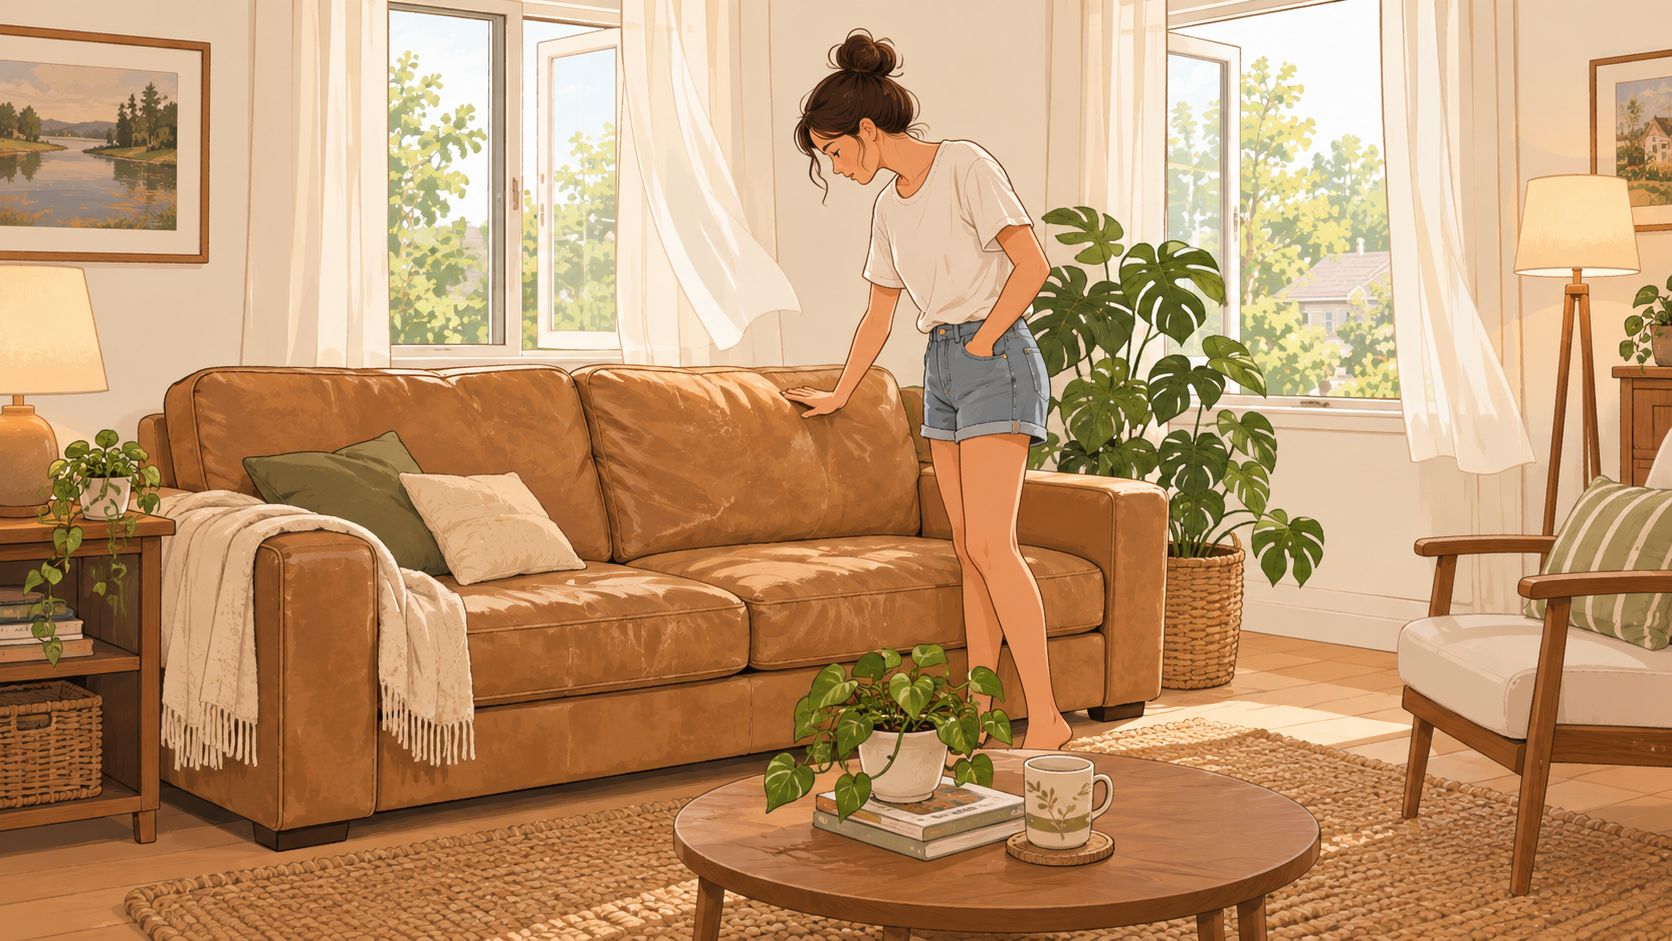
A worn leather couch can still have a strong future. Check it in daylight, sit on every cushion, and inspect the arms, seams, and underside. A solid frame, suitable proportions, and comfortable cushions point toward restoration. Fading, body-oil darkening, and mild dryness are surface problems, not automatic reasons to discard a well-made piece.
Southern Ontario's seasons affect that decision. Summer humidity can leave leather tacky and may encourage colour movement. Furnace air in winter dries neglected surfaces, while direct sunlight accelerates fading and brittleness. A couch beside a south-facing window therefore ages differently from one in a shaded room. Keep the room within the practical range of 60°F to 77°F with 40% to 60% humidity, as outlined in professional leather upholstery care recommendations.
The frame matters more than the colour
Inspect the hardwood frame, suspension, cushion support, and panels before choosing a tan or re-dye. Sound construction gives restoration a credible foundation. Sagging structure, collapsed foam, or brittle leather can consume labour without producing comfortable, lasting furniture. Sentiment matters, but it cannot repair a failing frame.
The couch's leather history matters too. Regional leather finishing has a long history, but the age or origin of the material does not guarantee that restoration will succeed. Condition, finish, and construction determine the sensible path.
Practical rule: Restore a couch because its materials and construction deserve preservation, not because a new colour might temporarily disguise deeper damage.
Start by identifying the leather category with this guide to leather types for furniture. Then inspect the surface under natural light. Look for loose finish, peeling bonded material, deep cracks, exposed backing, stretched seams, and odour that cleaning cannot address.
Choose among three options. Professional restoration suits valuable construction, extensive colour loss, structural concerns, or leather that needs controlled treatment. DIY recolouring suits a stable surface, modest fading, patience, and a willingness to accept an imperfect match. Replacement is the correct choice when the frame, foam, or leather has failed beyond sensible repair.
Before applying anything, vacuum seams, clean a hidden area, and test the surface response. For a practical routine, use this guide to clean your leather sofa like a pro. A careful inspection prevents a seasonal touch-up from becoming an expensive mistake.
Choosing the Right Path for Your Couch
Tanning leather couch work isn't one universal treatment. DIY recolouring, professional restoration, and replacement each suit a different combination of leather type, damage, budget, and desired finish.
Start with the leather category
Full-aniline leather has little protective surface coating, so it absorbs oils and liquids readily and shows the hide's natural character. It can develop a handsome patina, but colour correction requires restraint. Semi-aniline leather has a light protective coating and limited pigment, making it more forgiving than full-aniline while still retaining a natural appearance.
Pigmented leather carries a more uniform colour and protective finish. Minor fading and scuffing can often respond well to careful colour restoration, provided the underlying hide remains flexible. Bonded leather is different. Its surface coating can peel as the backing deteriorates, and recolouring won't rebuild missing material.
Suede and nubuck require their own specialist approach. Their napped surfaces react poorly to conventional furniture dyes and aggressive preparation, so at-home kits are usually a poor choice.
Match the damage to the outcome
| Damage Type | Best Path | Why |
|---|---|---|
| Surface fading | DIY or professional restoration | Colour can often be rebuilt if the finish remains intact |
| Body-oil darkening | Careful cleaning, then assessment | Oils may sit in the finish or penetrate aniline leather |
| Light cracking | Professional guidance or controlled DIY | Early dryness may be manageable before fibres weaken |
| Deep cracking | Professional restoration or replacement | Recolouring can't restore lost structural integrity |
| Peeling topcoat | Replacement or specialist assessment | Bonded and bi-cast surfaces may continue releasing |
| Torn panels | Professional restoration or replacement | Panel replacement requires matching, stitching, and tension control |
A homeowner with a valuable frame and isolated surface wear should seek a professional assessment before ordering supplies. A low-value couch with widespread peeling or structural sagging usually belongs in the replacement category. For owners who want a new configuration rather than a risky colour experiment, custom leather upholstery can place the restoration decision within a broader furniture plan.
Tools and Materials Worth Investing In
A leather couch in a Southern Ontario home faces changing humidity, dry heated air, and daily flexing. Choose supplies for the leather category and the season, not for a generic hardware-store project. The right materials protect adhesion and help the finished colour remain flexible as the couch bends and compresses.
Build a controlled preparation kit
Start with a pH-balanced leather cleaner, a vacuum with upholstery attachments, lint-free microfiber cloths, and soft brushes. Keep a leather-specific prep solution, a compatible degreaser for body-oil buildup, and, where the finish allows, an alcohol-based stripper for removing certain topcoats. Test every product on a concealed area before treating visible panels.
The cleaner must match the hide. A strong household formula can strip a protective finish, dry the leather, or create a colour change that later dye cannot conceal. Avoid bleach, ammonia, acetone, window cleaners, alcohol-based products, and wood-furniture dusting sprays. Use a purpose-made leather product instead, and stop if the test area changes colour, texture, or sheen.
Choose colour and finish as a system
Confirm the leather type before buying colour. Professional-grade aniline dye belongs on suitable aniline surfaces, while pigmented leather needs a compatible pigmented colourant. The colour layer should be paired with a flexible leather sealer or matching topcoat. Foam daubers and wool daubers help spread thin applications, and a controlled spray pattern suits experienced users who can work with proper ventilation.
Southern Ontario's dry winter air can make a finish feel less forgiving, while humid summer conditions can slow drying. Choose a clean, stable work area and follow the product's curing instructions rather than rushing the next coat.
Conditioners and finishing waxes come last. Oil-rich products applied before colour work can interfere with adhesion and leave the surface uneven or tacky. The leather care products collection offers a useful reference for choosing leather-specific maintenance products instead of household treatments.
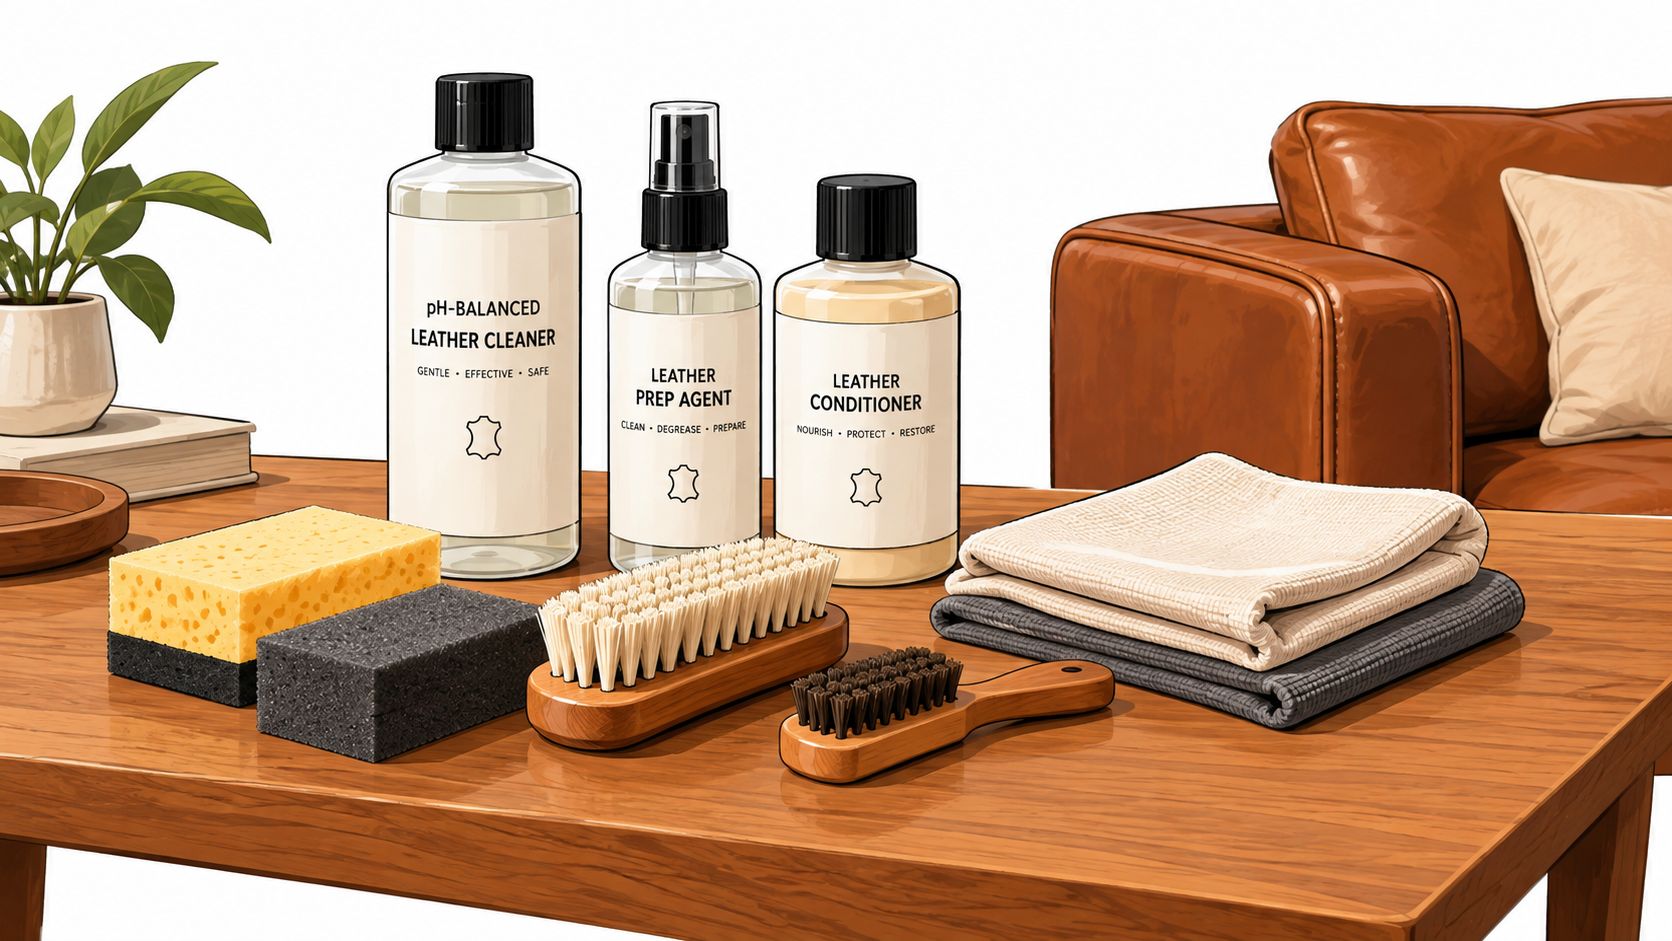
Material principle: Supplies are usually the least expensive part of restoration. Correcting colour mismatch, replacing panels, or repairing a failed finish costs far more than selecting compatible products at the start.
Run the complete sequence on a small hidden patch, from cleaner through sealer. Check it after drying, flexing, and gentle rubbing. If the patch feels rubbery, releases colour, or looks clearly different from the surrounding hide, stop the project and choose professional restoration or replacement.
Preparing the Surface the Right Way
A couch that looks ready for recolouring may still carry dust, body oils, old conditioner, or a failing finish. Preparation decides whether the new colour bonds evenly or begins peeling after normal use. Start with a dry surface. Wipe the entire couch with a clean cloth, then vacuum seams, welts, crevices, and the area beneath the cushions using an upholstery attachment. Grit trapped in a seam can transfer onto the seating surface and create new abrasion.
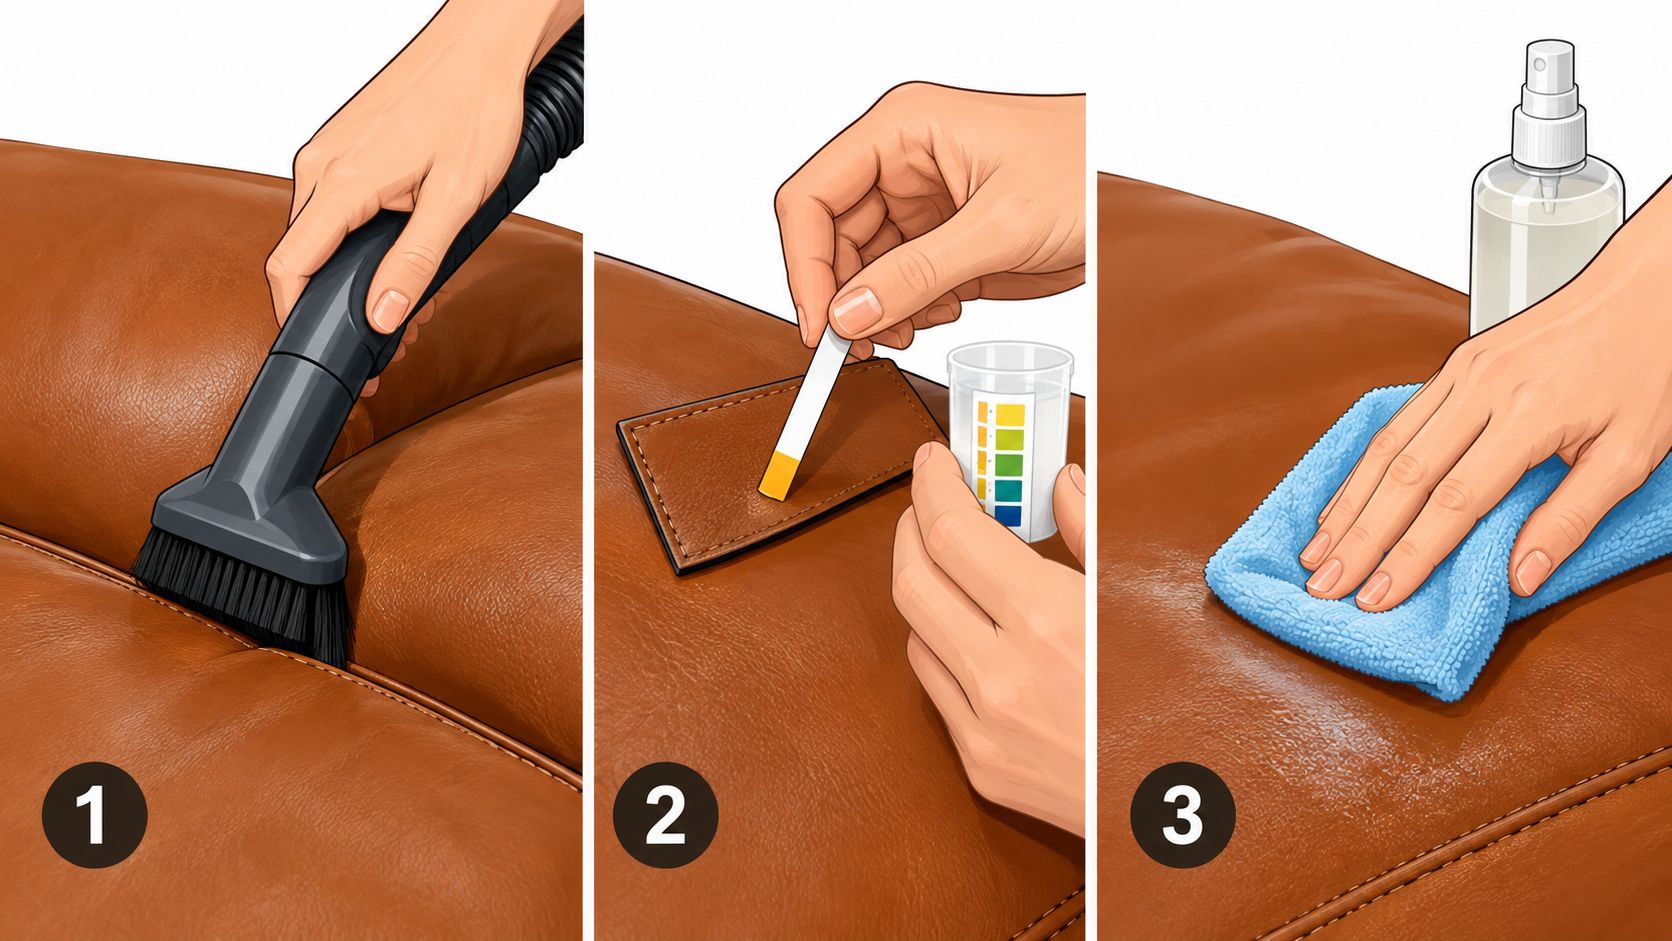
Clean, test, and degrease
Test a pH-balanced cleaner on a hidden corner or spare swatch before treating the rest of the couch. Apply it with a microfiber cloth and light circular motions. Forceful scrubbing can disturb the finish. Blot spills with a white cloth rather than rubbing them across the hide. A slightly damp white cloth suits many water-based marks, while oil-based stains require a different treatment and should not be approached with water.
Let each cleaning stage dry before continuing. Once the surface is clean, a compatible degreaser or alcohol-based cleaner can remove body oils from protected leather. Check the leather category first. Full-aniline hides can absorb products permanently, while pigmented leather may require deglazing before recolouring.
Paper towels shed fibres and can drag softened finish across the surface. Use lint-free cloths instead. Southern Ontario conditions also affect preparation. Summer humidity slows evaporation, while January furnace air can dry the surface too quickly and make a test area seem ready before it truly is. Work in a stable room and follow the product's drying instructions.
Adjust abrasion to the hide
Finished leather may need careful deglazing to open the surface for a new colour layer. Aniline leather requires a lighter touch, since aggressive abrasion removes the natural character worth preserving. Nubuck and suede should generally go to a specialist rather than receive treatment intended for smooth upholstery.
Stop when contamination and incompatible surface material are gone. The goal is not a stripped-looking couch or bare grain. If the leather turns fuzzy, powdery, or visibly uneven, the preparation has gone too far. At that point, professional restoration or replacement is the sensible choice.
Applying the Tan or Re-Dye With Confidence
A common mistake is assuming that faded leather can accept any matching brown or tan colour. It can't. The existing finish, fibre condition, absorption, and undertone all influence the result, and a colour that looks correct in a bottle may appear harsh against a naturally varied hide.
Build colour instead of flooding the hide
The most controlled approach uses thin, even coats. A square of folded microfiber can work for hand application, while an experienced operator may use a fine HVLP spray pattern. The work should proceed seam to seam in a consistent direction, with careful attention to cushion edges, piping, and transitions where lap marks become obvious.
Opacity develops across multiple light passes. Flooding the leather creates pooling, uneven sheen, and a tacky or rubbery finish. Each coat needs to dry fully before the next one is applied. If the surface feels cool, sticky, or soft under a fingertip, it isn't ready for another layer.
Late spring or early fall is the sensible period for this work, when a Southern Ontario home can hold a steadier environment. The target range for this application plan is 40% to 55% humidity, with ventilation and controlled temperature. Direct sun should be blocked while the finish cures.
Know when the project has become a professional job
A topcoat should match the leather's intended sheen and flexibility. Some surfaces need a protective sealer, while others require a more natural finish that preserves visible grain. Buffing between fully cured layers can reduce uneven lustre, but premature buffing moves soft colour around.
The couch should remain unused through a 48-hour cure window before regular seating resumes. Even then, a gentle test on a concealed area should confirm that the finish doesn't transfer onto a white cloth.
Stop-work sign: If the colour gathers in creases, the surface stays tacky, or the topcoat releases during a light rub, more product won't fix the problem. The finish needs assessment, removal, or professional correction.
Deep cracks, torn panels, widespread peeling, and bonded leather breakdown are poor candidates for a home dye project. A professional can sometimes replace panels or rebuild a finish, but replacement may be more honest when the substrate has lost its integrity. Homeowners considering a new tan configuration can review tan leather sofas as part of a complete-room decision rather than forcing an unsuitable restoration.
Troubleshooting Common Restoration Problems
Restoration problems usually reveal a misdiagnosis made before the first cleaner was opened. Peeling bonded or bi-cast leather isn't the same as fading pigmented leather. Deep cracking through the pigment layer isn't the same as a light scratch, and structural sagging isn't a colour problem at all.
A simple inspection can prevent a costly mistake. Run a fingernail lightly across a worn patch and observe whether the finish releases as powder or flakes. Check the underside, seams, and less-used panels for differences in texture. Labels, purchase records, and a trained assessment can help identify whether the couch is aniline, semi-aniline, pigmented, bonded, suede, or nubuck.
| Issue | DIY Fix Likely | Call a Professional |
|---|---|---|
| Light surface scratch | Yes, if the hide remains supple | If the scratch exposes fibres |
| Minor colour fade | Often, on protected leather | If colour varies across panels |
| Small scuff | Sometimes, after testing | If the topcoat has lifted |
| Isolated dryness | Usually through careful cleaning and conditioning | If cracking is already deep |
| Peeling surface | Rarely | Yes, especially on bonded or bi-cast leather |
| Deep pigment-layer cracking | No | Yes, or consider replacement |
| Dye transfer across many areas | No | Yes, after stopping solvent use |
| Sagging frame or cushions | No | Upholstery or furniture assessment required |
Treat the room as part of the restoration
A restored couch shouldn't be placed back into the same damaging conditions. Direct sunlight, heating vents, and air-conditioning outlets can undermine a new finish, while rough throws or poorly placed accessories may create concentrated abrasion.
A complete room concept matters. A leather sofa, rug, lighting plan, and surrounding tables should work together to protect the investment and control visual wear. A design-forward consultation can also determine whether the existing couch still belongs in the room or whether replacement creates a more coherent result.
Seasonal Aftercare for Southern Ontario Homes
Southern Ontario leather care follows the seasons. Humid summers, dry furnace winters, winter salt, and strong window light place different demands on a couch. Inspect the leather before using any product, then respond to its actual condition rather than following a fixed schedule.
Winter needs restraint and observation
Furnace air often dries leather at the arms, seams, and most-used cushions. Dust and vacuum first. If the surface feels dry, apply a compatible conditioner sparingly with a microfiber cloth, let it absorb, then buff lightly. Product needs vary by leather type and room conditions. Aniline leather requires closer observation, while protected pigmented leather usually needs less conditioner.
Use this seasonal care calendar:
- Winter: Keep the couch out of direct furnace airflow. Inspect arms and seams, and condition only when dryness appears.
- Spring: Remove winter dust and salt with a gentle, pH-balanced cleaning routine. Let the surface dry naturally.
- Summer: Reduce direct UV exposure with window treatments or film. Keep the couch away from air-conditioning discharge, and watch for tackiness or dye migration.
- Fall: Check for early cracking, loose finish, and cushion wear before the heating season begins.
High-use homes benefit from a regular cleaning routine, with vacuuming and light wipe-downs carried out regularly. Professional cleaning may also be appropriate periodically, but the right interval depends on occupancy, pets, sunlight, and leather type. Follow this guide to caring for leather furniture for product compatibility and basic handling. A seasonal inspection matters more than applying conditioner by habit.
Protect the finish through design
Arm caps and carefully chosen throws can reduce concentrated wear while leaving the couch visible. Use clean, colourfast materials without rough surfaces that could abrade the finish. Window coverings or UV-control film help protect seating near a south-facing window without removing natural light from the room.
For maintenance principles that apply to mobile leather goods, leather conditioning for travelers reinforces three sound habits: test products on an inconspicuous area, use a modest amount, and match treatment to the material.
The room also affects the couch's service life. Keep seating clear of heating and cooling outlets, manage direct sunlight, and avoid accessories that rub against high-contact areas. A leather couch with heirloom quality should sit among furnishings that can age with equal dignity, including a rug treated as Art for Your Floor, along with suitable tables, lighting, and accessories.
A design consultation can resolve placement, colour, function, flow, furniture arrangement, and accessory coordination. Appointment-based design consultations and Toronto decorating services illustrate the kind of room planning that can determine whether the existing couch still suits the space or whether replacement is the sounder choice.
For a major piece, professional help is appropriate when restoration affects the whole room. An end-to-end interior design consultation can address the space, floor plan, furnishings, accessories, and installation. Choose that route when placement and replacement decisions matter as much as the finish. For a small, stable area of dryness, careful DIY aftercare is enough. If the leather is peeling, cracked, or unevenly coloured, stop treating it and seek an assessment.
A homeowner weighing restoration, replacement, or a new room arrangement can visit the King Street Showroom to consider leather seating, bespoke options, rugs, and complete-room furnishings together. Critelli's white-glove delivery service supports placement across the Greater Niagara, Hamilton, and Toronto markets, while its design studio can help assess which option fits the home.
Critelli Furniture offers curated leather seating, custom upholstery possibilities, rug selections, design consultation, and white-glove delivery for Southern Ontario homes. Visit Critelli Furniture to assess the couch in person, book a complimentary design consultation today, or visit the Rug Market to find your room's foundation.